How to Craft a Flashlight Reflector Cup from Everyday Items

Do you want to make your flashlight brighter? You can easily make a flashlight reflector cup with common items. This fun DIY project helps you create your own reflector using just a few simple materials. You will see that this activity not only makes your flashlight work better but also boosts your creativity. Get ready to change your flashlight into a strong tool!
Key Takeaways
Transform your flashlight into a brighter tool by crafting a reflector cup using simple materials like a paper cup and aluminum foil.
Ensure a snug fit for the flashlight bulb by cutting a precise hole in the bottom of the paper cup, enhancing the effectiveness of your DIY reflector.
Experiment with different materials, such as plastic bottles or pie tins, to customize the shape of your reflector cup for improved light focus.
Decorate your reflector cup with stickers or paint to personalize your project and make it visually appealing.
Test your reflector cup by observing the brightness and spread of light, and adjust the design as needed for optimal performance.
Use foil tape for a smoother reflective surface, which can enhance light output compared to regular aluminum foil.
Enjoy the creative process of making your reflector cup, and don't hesitate to share your unique designs and experiences with others.
Materials Needed
To make your flashlight reflector cup, collect some easy materials. You probably have most of these at home. We can split them into two groups: common household items and extra items for customization.
Common Household Items
You will need these basic materials:
Paper cup: This is the base for your reflector cup. Pick a strong one to keep its shape.
Aluminum foil: This shiny material makes your flashlight brighter. It reflects light well, helping your project work better.
Scissors: Use these to cut the paper cup and aluminum foil to the right sizes.
Tape: This keeps the aluminum foil inside the cup and holds everything together.
Flashlight bulb: You need this to test your reflector cup after you finish making it.
Optional Items for Customization
Want to improve your reflector cup? Think about these extra materials:
Plastic bottles: You can cut these to make a different shape for your reflector. They can focus light in special ways.
Pie tins: These can be another base. Their shape can help direct light better.
Foil tape: This works like aluminum foil but sticks better. It gives a smooth reflective surface without bumps.
Decorative materials: Use stickers, paint, or other craft supplies to make your reflector cup special. Make it your own!
With these materials, you’re ready to start making your DIY light reflector. Gather everything, and let’s get to the fun part!
Step-by-Step Guide to Making the Reflector Cup
Preparing the Base
Start by preparing the base of your flashlight reflector cup. Grab your paper cup and take your scissors. Cut a hole in the bottom of the cup. Make sure the hole is just large enough for the flashlight bulb to fit through. You want a snug fit, so the bulb stays in place while you use your DIY light reflector.
Creating the Reflector Surface
Next, it’s time to create the reflector surface. Take your aluminum foil or foil tape and line the inside of the cup. Press it down smoothly to avoid any wrinkles. Wrinkles can create shadows, which reduce the effectiveness of your flashlight. Remember, bright aluminum foil reflects about 88% of light, while foil tape can provide an even smoother surface. This smoothness helps direct the light better, making your flashlight shine brighter.
Assembling the Reflector Cup
Now, let’s assemble your reflector cup. Insert the flashlight bulb through the hole you cut earlier. To keep the bulb secure, use a paperclip or a soda tab. This will help complete the circuit and ensure your flashlight works properly. Once everything is in place, you’re ready to test your DIY reflector.
Turn on your flashlight and see how much brighter it shines with your new reflector cup. You’ll notice a significant difference in light output. This simple project not only enhances your flashlight but also gives you a chance to get creative with everyday items.
Testing Your Reflector Cup
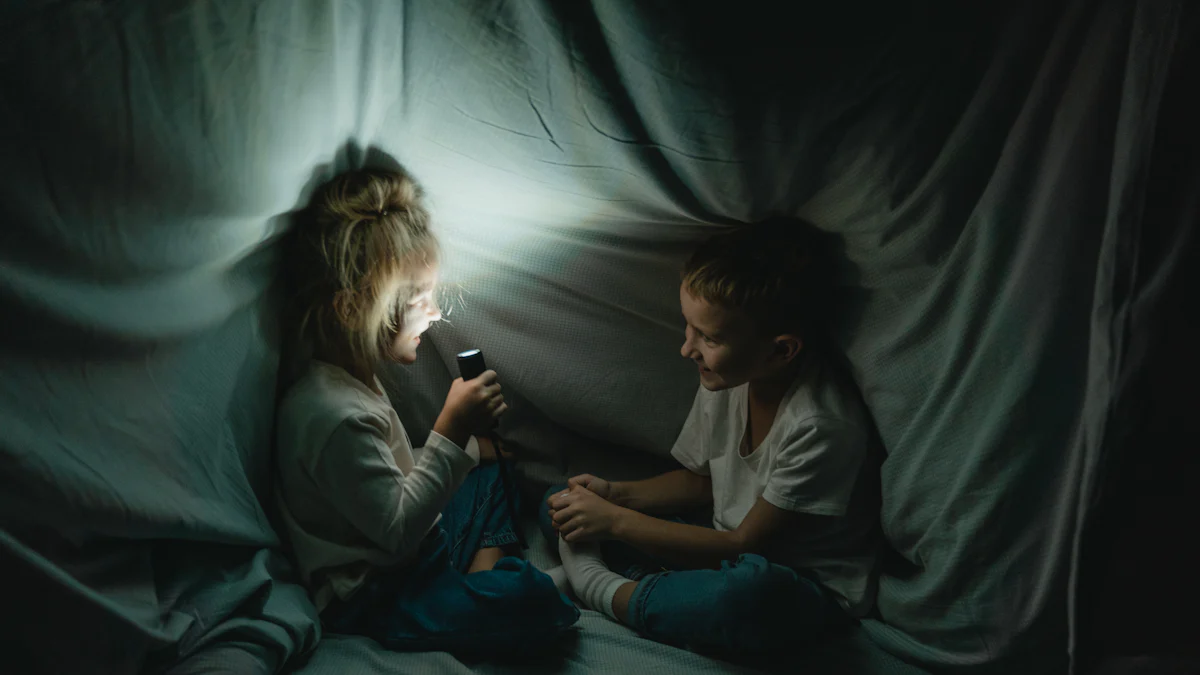
Now it’s time for the exciting part! Turn on your flashlight and see how well your new flashlight reflector cup works. You should notice a big difference in brightness. The aluminum foil reflects light effectively, making your flashlight shine brighter than before.
If you used bright aluminum foil, you’re in luck! This type of foil reflects about 88% of light. That means more light bounces back toward your target. If you used foil tape, you might even get a smoother surface, which can enhance the light output even more. Some studies show that vapor-deposited aluminum can reflect up to 95% of light. While you might not have that at home, your DIY reflector cup still does a great job!
As you test your flashlight, pay attention to how the light spreads. Does it create a focused beam? Or does it scatter too much? If you find that the light isn’t as directed as you’d like, consider adjusting the shape of your reflector cup. You can try using a plastic bottle or pie tin to see if that helps focus the light better.
Remember, this project is all about experimenting. Don’t hesitate to make changes and see what works best for you. Enjoy the process and have fun with your new flashlight reflector cup!
Tips for Customization
Personalizing Your Reflector Cup
You can make your reflector cup special by adding your own style. Use paint or stickers to decorate the outside. This fun activity makes your project look cool and adds excitement to your DIY work. Pick colors and designs that show who you are. You might want to create a theme based on your favorite colors or hobbies.
Enhancing Light Output
Do you want to make your flashlight even better? Try different shapes and materials to change how the light shines. For example, use a plastic bottle instead of a paper cup. Cut it into a shape that focuses the light more. You can also use pie tins, which curve naturally to help direct the light well.
Interviews with DIY fans show that many enjoy customizing their reflectors for different uses. Jim Berton, a photographer, shared how he gets ideas from DIY posts to make reflectors for photos. He said a good DIY light reflector can really improve lighting in photography.
You can also try different materials. If you have foil tape, use it. It sticks better than aluminum foil and gives a smoother surface. This can make the light shine even brighter. Remember, the key is to experiment and find what works best for you. Have fun creating your own DIY reflector!
A flashlight reflector cup makes your light brighter and focuses it well. You can change your regular flashlight into a strong tool with just a few easy items. Have you made one yourself? Share your stories and any cool ideas you have. Your thoughts could inspire others! Please leave comments or questions below. Let’s keep talking and discover more fun DIY projects together!
FAQ
What is a flashlight reflector cup?
A flashlight reflector cup is a simple tool that makes your flashlight brighter. It helps direct light from the bulb so it shines better. You can easily make one with things like a paper cup and aluminum foil.
How does the reflector cup improve brightness?
The reflector cup makes your flashlight brighter by bouncing light back toward where you want it to go. When you cover the inside of the cup with aluminum foil, it creates a smooth surface that reflects light well. This helps more light reach the area you want to light up.
Can I use other materials besides aluminum foil?
Yes! You can try different materials. Foil tape is a good choice because it sticks better and is smoother. You can also use thin aluminum sheets or shiny plastic. Each material can change how the light reflects.
How do I know if my reflector cup is working?
To check if your reflector cup works, turn on your flashlight. You should see a big increase in brightness compared to using the flashlight alone. Look at how the light spreads. A focused beam means your reflector cup is working well.
Can I customize my reflector cup?
Yes! You can make your reflector cup special. You can paint it, add stickers, or use fun materials. This makes it look unique and makes your DIY project more fun.
What if my flashlight still isn’t bright enough?
If your flashlight isn’t bright enough, try changing the shape of your reflector cup. You can use a plastic bottle or a pie tin to see if that helps focus the light better. Trying different shapes can give you better results.
Is it safe to use a homemade reflector cup?
Yes, using a homemade reflector cup is usually safe. Just make sure the materials can handle the heat from the flashlight bulb. Avoid flammable items, and always watch children during the project.
Can I convert my flashlight to LED?
You can change your flashlight to LED by swapping the old bulb for an LED bulb. This often makes it brighter and saves energy. Some patents explain how to use combination reflectors and LED conversion kits to help with this.
How long will my DIY reflector cup last?
How long your DIY reflector cup lasts depends on what you use to make it. If you use strong items like a paper cup and aluminum foil, it should last for several uses. If you see any wear or damage, think about making a new one.
Where can I find more DIY projects like this?
You can find more DIY projects online through blogs, forums, and social media. Many DIY fans share their ideas and experiences. Joining these communities can inspire you to try new projects and improve your skills.