How to Install Leg Mounting Plates for Your Furniture

Installing leg mounting plates for furniture the right way is important. It helps keep your furniture steady. When you attach the plate for furniture properly, you stop wobbles. This also makes your furniture last longer. So, be patient and follow the steps closely. Your furniture will appreciate it!
Key Takeaways
Collect all the tools and materials you need first. You will need a drill, screwdriver, measuring tape, level, and leg mounting plates.
Carefully mark where the mounting plates will go. Use a measuring tape to find the center and leave about an inch from the edge for even placement.
Check and tighten the screws on your furniture legs often. This keeps your furniture stable and stops it from wobbling over time.
Tools and Materials Needed
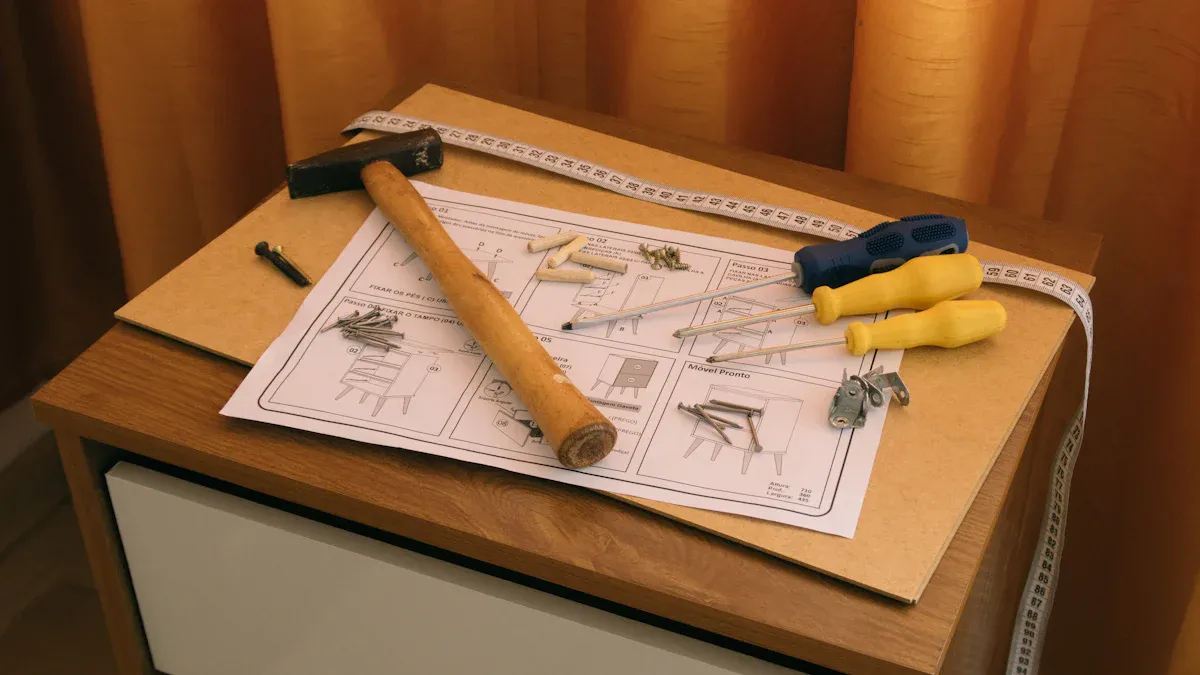
Before you start installing, get your tools and materials. Having everything ready makes your work easier and faster. Here’s what you need:
Essential Tools for Installation
You need some basic tools to begin. Here’s a simple list:
Drill: A power drill makes holes for the screws.
Screwdriver: A Phillips or flathead screwdriver tightens screws.
Measuring Tape: Use this to measure distances right.
Level: This tool makes sure your furniture is even.
Pencil: Clearly mark your measurements on the furniture.
Required Materials for Mounting Plates
Now, let’s look at the materials. You need these items:
Leg Mounting Plates: These attach to the furniture and legs.
Screws: Get the right size screws for your plates.
Wood Glue (optional): This adds extra strength with surface plates.
Washers: These help spread the weight and protect the wood.
By gathering these tools and materials, you prepare for success. Remember, using surface plates correctly keeps your furniture stable and strong.
Step-by-Step Installation Process
Preparing the Furniture for Mounting Plates
Before you start, make sure your furniture is clean and dry. Remove any old legs or hardware. If you’re working with a new piece, check for any imperfections on the surface. You want a smooth area for the mounting plates.
Marking the Plate Position for Accurate Attachment
Next, it’s time to mark where you’ll place the plates. Use your measuring tape to find the center of each leg position. A good rule of thumb is to leave about an inch from the edge of the furniture. Use your pencil to make clear marks. This step is crucial for ensuring that your plates sit evenly.
Drilling Holes for Secure Fit
Now, let’s drill some holes! Choose the right drill bit based on the thickness of your mounting plates. Here’s a quick guide:
Purpose | |
|---|---|
Center or spot drill | To locate the center and break through the plate surface. |
Carbide circuit board drill | To finish the hole after initial drilling. |
Extended flute carbide drill | Recommended for thicker plates. |
High speed steel drill | Used for finishing holes in cases where plates cannot be disassembled. |
Drill carefully at the marked spots. Make sure to keep the drill straight for a clean hole.
Attaching Table Legs with Mounting Plates
Once your holes are ready, it’s time to attach table legs. You can use mounting plates for small tables without aprons. They’re easy to install and work well for lighter loads. For heavier pieces, consider using threaded inserts or mounting blocks. These options provide extra strength and allow you to easily unscrew the legs when needed.
Securing the Legs for Stability
Finally, secure the legs firmly. Tighten the screws until they’re snug, but don’t overdo it. You want a secure fit without damaging the wood. After attaching the legs, check if everything is level. If not, adjust as needed. This step ensures your furniture stands strong and stable.
Troubleshooting Common Issues
Addressing Misalignment Problems
Sometimes, your furniture legs may not line up right. This can happen if the plates were not marked or drilled correctly. Here’s how to fix it:
Check the Alignment: Use a level to see if the legs are even.
Loosen the Screws: If they’re too tight, gently loosen them.
Adjust the Legs: Move the legs until they line up properly.
Retighten the Screws: Once everything looks good, tighten the screws again.
Tip: Always double-check your measurements before drilling to avoid misalignment from the start!
Resolving Stability Concerns
If your furniture wobbles, it can be annoying. Here’s what you can do to make it stable:
Inspect the Legs: Make sure all legs touch the ground.
Add Washers: If the screws are too short, adding washers helps spread weight better.
Use Wood Glue: For extra support, put wood glue around the mounting plates before securing the legs.
Note: A wobbly table can cause spills and accidents, so it’s best to fix this quickly!
Solutions for Plate Damage
Sometimes, mounting plates can get damaged during installation. If you see any cracks or bends, don’t worry! Here’s how to handle it:
Replace the Plate: If it’s badly damaged, it’s best to replace it.
Reinforce with Additional Screws: If the damage is small, adding a few more screws can help secure it.
Check for Splinters: Make sure there are no sharp edges that could hurt someone.
By following these troubleshooting tips, you can keep your furniture sturdy and working well for years!
Ensuring a secure installation is key to keeping your furniture stable and safe. Regularly check the legs and plates for any signs of wear. Here are some quick tips:
Tighten screws every few months.
Inspect for wobbles or damage.
Clean the mounting area to prevent buildup.
By doing this, you’ll enjoy your furniture for years! 🛠️
FAQ
How do I choose the right furniture leg screws?
Select screws that match the thickness of your mounting plates. Ensure they’re long enough to secure the t-nuts without damaging the wood.
Can I use wood glue with mounting plates?
Yes! Wood glue adds extra strength. Apply it around the mounting plates before securing the legs for better stability.
What if my furniture still wobbles after installation?
Check the leg alignment and tighten the screws. If needed, add washers to distribute weight evenly and secure the t-nuts properly.